Outdoor Home Organizing Tips for the Summer Here are some targeted tips for organizing your outdoor spaces this summer and some additional tips to help maintain the space:
Patio and Deck
Garden and Yard
0 Comments
 Earth Day Feature: 10 Tips for Embracing a Zero Waste LifestyleEvery year, Earth Day serves as a reminder of our responsibility to protect the planet. One powerful way to make a difference is by embracing a zero waste lifestyle. By reducing the amount of waste we produce, we can lessen our impact on the environment and create a more sustainable future. Here are ten tips to help you get started on your zero waste journey this Earth Day:
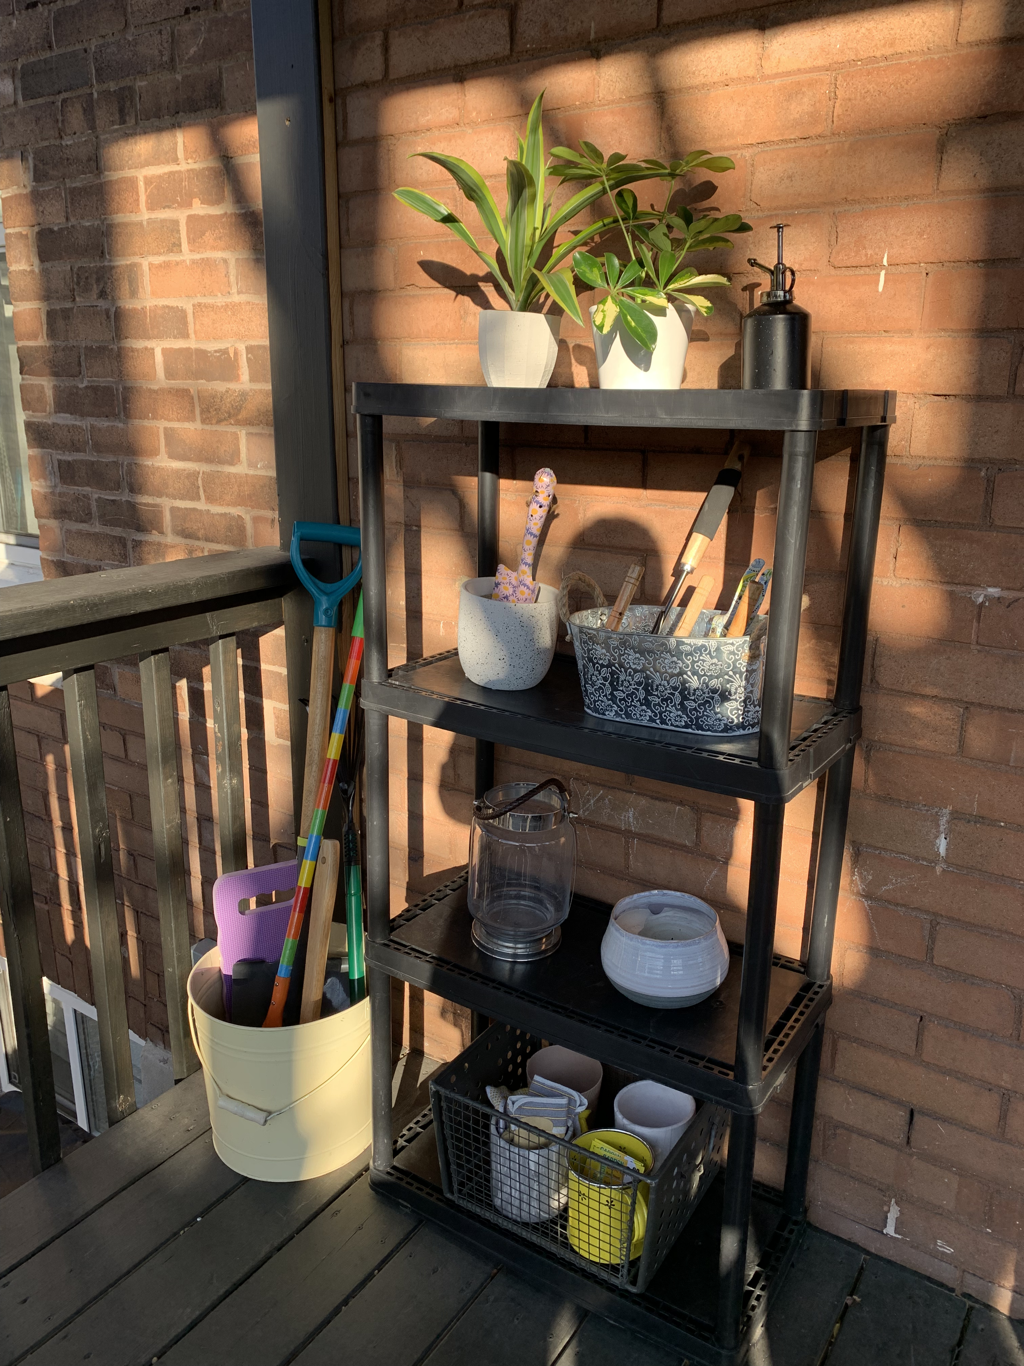
This Earth Day, let's commit to reducing our waste and living more sustainably. By making small changes in our daily lives, we can create a cleaner, healthier planet for all.  By: Julia Weaver April 10, 2024 Sponsored post. Whether you found the ideal apartment in St. Paul, MN, or recently purchased your dream home in Des Moines, IA, moving into your new home can be an exciting new chapter in a person's life. But moving day itself can also be incredibly stressful. As anyone who's moved can tell you, planning ahead can make the process much easier. So whether you’re just moving across the street or moving to a different province or state, utilize this article that’s jam-packed with moving hacks from experts, to help you every step of the way. Before you move Start your moving process early gives yourself plenty of time before the move lets you take things slow and steady, tackling one room at a time. It's a much more relaxed way to approach packing, and it means you won't be rushing around at the last minute in a panic. Plus, if anything unexpected comes up, you'll have time to deal with it calmly without stressing out. 1. Declutter Decluttering can be a daunting task, but taking it one step at a time can make it more manageable. By acknowledging the challenge and approaching it with patience, the process becomes less overwhelming. Keep items that bring you joy “Remember, you only want to bring things that you love and that serve a purpose into your new space,” advises Melissa Adams, owner of Happy Organized in Denver, CO. “Take the time before moving to declutter so that once you move, your new home is filled with all the things you love and not full of old junk that has followed you for years.” 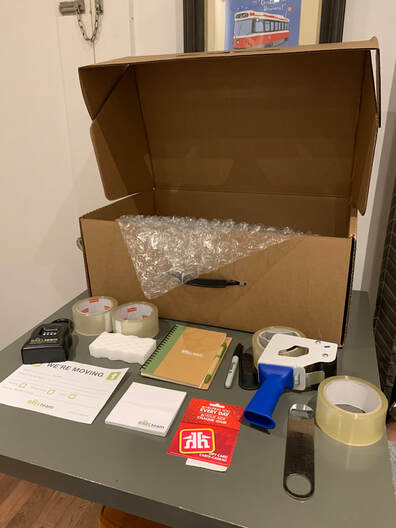 Store packing essentials in a convenient location Etelka and Suzy, owners of Simply Organized Solutions For You in Phoenix, AZ, recommend keeping a supply of small, medium, and large packing boxes on hand along with packing tape, scissors, packing paper, large labels, and Sharpies. “Clearly mark all boxes in the same way, and include which room the box belongs in, as well as the contents, with as much detail as possible. Keep all of your supplies in one location so that you do not waste time looking for any of them. Once you get to your new home and are unpacking, use containers to help you stay organized in the busiest parts of your home such as the kitchen and bathroom.” Identify worn items “Sort through items in each room and space, looking for things that are excessively worn or used, unused or rarely used, broken, too small, too big, duplicates, or have missing components,” shares Tiffany Smith, Indianapolis- based organizing consultant at Simply Put Organizing. Check items for expiration dates “Before packing, be sure to inspect all your items for expiration, particularly those in the kitchen pantry and bathroom, including medicine,” says Michele Delory, Certified KonMari and Home Organizing Consultant at Modern & Minimalist in Toronto, Canada. “Take note of anything that needs replacing. Stay organized by keeping essential documents and valuables with you during the move, as a precautionary measure.” 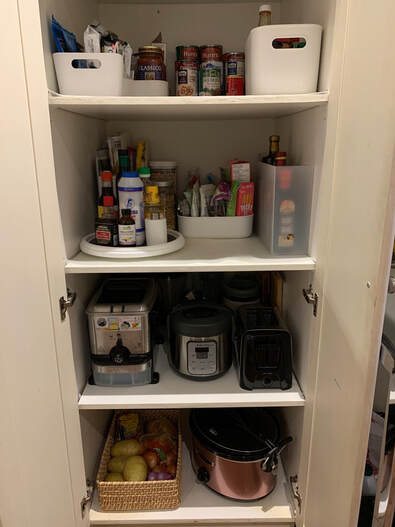 2. Donate “Be sure to keep an extra box for donation nearby at all times,” states Lisa, blogger and organizer at Smallish Home. “If you come across anything that you don't really love or care to spend the time/effort/money to move, then place it in the box for donation. This also works when unpacking boxes in your new place. As you unpack, you will undoubtedly come across things that don't fit in your new space and having an easily accessible donation bin can make unpacking less stressful.” 3. Create a master list “Create one master list to refer to and edit as the moving process unfolds,” suggests Kimberly Martin, Certified Home Organizer and owner of One by One Organizing in York, ME. “The master list will keep your mind clear and should have contact numbers, important dates, and a checklist of tasks to complete. Approaching the steps one by one, in an organized way, spatially and mentally, will decrease your overall stress during a move.” 4. Find free moving boxes Moving can include a lot of unexpected costs, some of which are completely unnecessary. One of these is buying moving boxes. Clothing and grocery stores, as well as the Craigslist free section, are good places to find perfectly good boxes at no cost. 5. Get your current home ready to move out Evan Blumberg, founder of Mulberry Maids in Fort Collins, CO, emphasizes that with a little prep work, the moving process can be much simpler. “To get started, it is always best to do a declutter of your items. No matter who you are, you will likely have things that can be donated, sold, recycled, or tossed. Once your home is decluttered, it will be easier to get packed up and perform a deep cleaning of your space. Once the home is empty, focus on areas that were hidden when your home was lived in, such as wet wiping and scrubbing baseboards, cleaning inside cabinets and shelves throughout the home, and vacuuming up corners and edges where dust and pet hair tend to accumulate. Don't forget to clean inside all of your kitchen appliances as well, including the refrigerator and microwave. 6. Plan your meals or eat out If you are packing up your kitchen, be sure to plan your meals for the days your items are packed. You could prepare freezer meals that are easy to thaw and enjoy or just plan on eating out for a few nights. 7. Have a moving day bag A moving day bag can be a lifesaver. Pack up everything you would need for a weekend trip. Include a change of clothes, toiletries, chargers and some cleaning supplies. Keep this bag in your car so that it doesn't get packed and lost in the back of the moving truck. Be sure you have snacks and water to refuel when your energy gets low. 8. Fill holes in the wall with soap Small holes in your apartment walls, though seemingly insignificant, can cost you some money upon moving out. An easy moving hack is to fill them using a bar of soap. Just rub the hole with the bar until it's filled. 9. Be packed up before moving day “Make sure your boxes and bags are packed up before moving day – movers are paid hourly, so if you're taking the time to pack boxes while they wait, it will cost you,” explains blogger and professional organizer, Shanice Royer-Mayers at City of Creative Dreams. “Consider packing with a system that works best for you and your family such as by labeling boxes with room names, assigning different tape colors to areas in your new home, or using QR code box labels to save time.” 10. Measure the large items A classic moving mistake is arriving at your new home to find that the couch won't fit through the door. Be sure you measure all your items and ensure they will fit in your new home. Kathy Druffner, owner of Druffner Professional Organizing in Dayton, OH, weighs in on the importance of measuring your furniture before moving it. “It's not practical to incur moving costs for items that serve no purpose or won't fit into your new space. Without exact measurements, utilize online images as a rough guide to help determine whether items will be suitable for your new environment. This proactive approach ensures that you're not burdened with unnecessary belongings during the moving process, streamlining the transition to your new home.” 11. Keep track of your tax-deductible moving expenses If you are a member of the military or moving for a job, your moving expenses may be tax-deductible. Do some research to see if your situation qualifies. If so, be sure to keep a record of all your moving expenses. Packing hacks Packing is a chore dreaded by many, but it doesn't have to be. Read through these packing hacks to see which ones you can use for your next move. 12. Color-code One of the hardest things when moving is to keep all your boxes organized. It's never easy to find things when you arrive at your new apartment. This can be made simpler through a color-coding system that let you glance at each box and immediately know which room the contents belong in. 13. Take inventory Along with color-coding the boxes, writing an inventory of what's in each box can be helpful. Write this on the side of the box because the top will be covered. If this sounds too time-consuming, an easy moving hack is to take a photo of what's in each box. This way you can look back at the photos to find what you're searching for. 14. Cut handles on any boxes that don't have them It can be hard to pick up a box from the bottom, especially if it's heavy. Add handles to any box by using a box cutter to carve a triangle with the flat side on top and point facing down. 15. Keep knives safe in oven mitts Knives can be hard to pack and pose a danger to anyone moving them. Keep yourself safe by storing them in protective oven mitts. 16. Vertically pack plates A moving disaster that you definitely want to avoid is broken dishes. If you pack your plates vertically, like records, they'll be less likely to break in transit. 17. Pack pots with kitchen supplies Another packing hack is to put any obscure kitchen supplies, like spices or measuring cups, in your pots. This way you can unpack them all at once in your new kitchen. 18. Use rubber bands to keep the lids on pots Pot lids can be difficult to keep on. To prevent them from sliding off in transit, use rubber bands. Wrap the rubber band around one of the pot's handles, twist it, wrap it around the lid handle, twist again and wrap it around the pot's other handle. 19. Pack clothes on hangers Use your clothing storage to your advantage. Rather than removing your clothes from hangers and folding them, only to hang them back up at the new home, keep them on the hangers. Simply zip-tie the hangers together and cover with a trash bag or plastic wrap. 20. Pack cotton balls in your makeup When transporting cosmetics, makeup is prone to breaking. Protect your powder by packing cotton balls in your compacts. 21. Cover liquids with plastic wrap Imagine picking up a box to bring into your new house only to find it soaked with shampoo. Avoid any liquid spills by removing the lid, covering the top with plastic wrap and then screwing the lid back on. 22. Remove hardware when possible If your drawers have handles that stick out, unscrew the hardware and place the handles on the inside; this will help to prevent them from scratching other items in the move. 23. Keep any disassembled furniture parts in labeled bags When moving, you may need to disassemble big items like your bed. If you remove any screws or small parts, be sure to put them in a labeled sandwich bag. This way you'll have all the parts in one place when you need to put the item back together. 24. Use your drawers as storage Get crafty with what you use as a container. Dresser drawers can be packed with clothes or other items. 25. Bubble wrap mirrors and glass If you thought plates were difficult to keep intact, wait until you have to pack some mirrors and glass picture frames. In these instances, you'll have to pack each item separately, wrapping it in bubble wrap or packing paper like a present. Make sure you label the outside of the box “fragile.” 26. Transport valuable items yourself If there is a valuable heirloom that you are nervous about the movers handling, consider moving it yourself. Pack your valuable items in your car so you can safely transport them. 27. Keep a file of important documents accessible Keep any important documents, such as your social security card or passport, separate from the rest of your items. You don't want to lose these in the chaos of moving day. 28. Create your own box for the TV Televisions are another tricky customer when it comes to moving. Luckily, there are a few tricks you can use, such as covering the screen with a towel and building a custom box for it. Always remember to keep your flat screen sitting upright. Next time you buy a TV, keep the original packing material and you can use it next time you move. 29. Take a photo of wired electronics Some electronics, such as TVs, have a lot of wires. If you plan on removing the wires to transport them, be sure to take a photo so you know how to put them back together. 30. Organize your cords in toilet paper rolls A popular moving hack that can save you time is repurposing old toilet paper rolls. Organize your cords in these rolls to keep them from getting tangled in transportation. 31. Use your towels and sheets to your advantage Linens take up a lot of space in boxes that could be used for other things, but they can be put to good use when moving. Wrap your more fragile objects in your towels and sheets; this way, you can pack everything and save yourself some bubble wrap. Two birds with one stone! 32. Utilize your suitcase Pack your suitcase with heavier items. It has wheels which will make it easier to transport than a heavy box. 33. Have your movers place the boxes in the correct room When you arrive in the new house, instead of piling all the boxes in the living room, put them in the correct room. If you color-coded them, it will be easy to determine what goes where. This moving hack will make your life much easier when it's time to unpack the boxes. Try these moving hacks today! Although moving day may seem overwhelming, the secret lies in proactive planning and adopting expert advice to simplify the process. Taking guidance from seasoned organizers and incorporating practical strategies like decluttering, arranging packing necessities, and planning unpacking can greatly ease the transition. Spring into a Fresh Start: A Quick Guide to Spring Cleaning and Organizing Spring is finally here, and with it comes the perfect opportunity to refresh and revitalize your living space. As the days get longer and the weather gets warmer, it's time to say goodbye to the winter blues and hello to a clean, organized home. I will share with you some simple yet effective tips and tricks to help you tackle your spring cleaning and organizing like a pro. 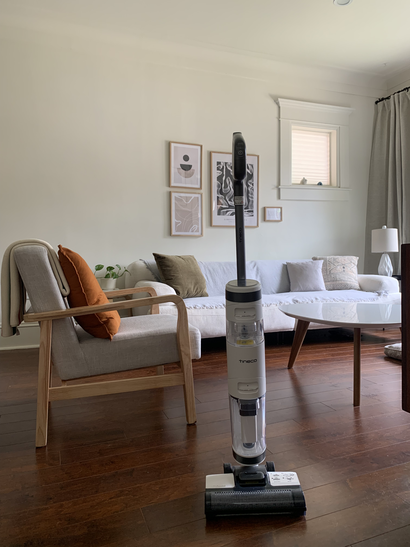 1. Start with a Plan Before diving into spring cleaning, take some time to make a plan. Identify which areas of your home need the most attention and create a checklist to help you stay organized. 2. Declutter First Before you start cleaning, declutter the high frequent areas of the home by letting go of items you no longer need or use. This will make the cleaning process much easier and more efficient. 3. Clean from Top to Bottom When cleaning the home, start at the top and work your way down in each area. This way, any dust or dirt that falls will be cleaned up as you work your way down. 4. Use Natural Cleaning Products Consider using natural cleaning products to reduce your exposure to harsh chemicals. Ingredients like vinegar, baking soda, and lemon can be effective cleaners and are safer for your family and the environment.  5. Focus on High-Traffic Areas Pay extra attention to high-traffic areas like entryways, kitchens, and bathrooms. These areas tend to accumulate more dirt and grime and may need a deeper clean. 6. Don't Forget About Windows and Window Treatments Spring is the perfect time to clean your windows inside and out. Also, don't forget to clean your window treatments, such as curtains or blinds, to remove dust and allergens.  7. Freshen Up Upholstery and Carpets Consider steam cleaning upholstery and carpets to remove deep-seated dirt and allergens. You can also sprinkle baking soda on carpets before vacuuming to help absorb odors. 8. Organize Closets and Storage Spaces Take the opportunity to organize closets and storage spaces. Donate or sell items you no longer need and use storage bins or baskets to keep items organized.  9. Maintain Your Outdoor Space Spring cleaning isn't just for the inside of your home. Take some time to clean up your outdoor space by raking leaves, trimming bushes, and sweeping walkways. Clean outdoor patio furniture on the porch or backyard. You can even get the shed organized by bringing stuff outside on a nice day, declutter items, sort and organize, but first clean the inside shed floor before returning stuff back.
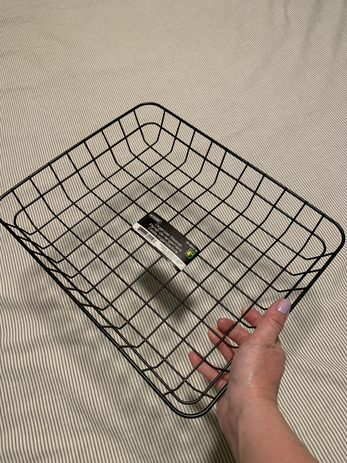
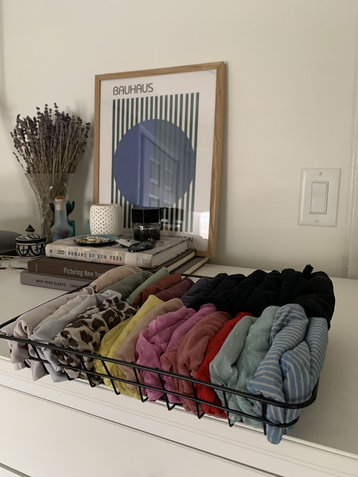
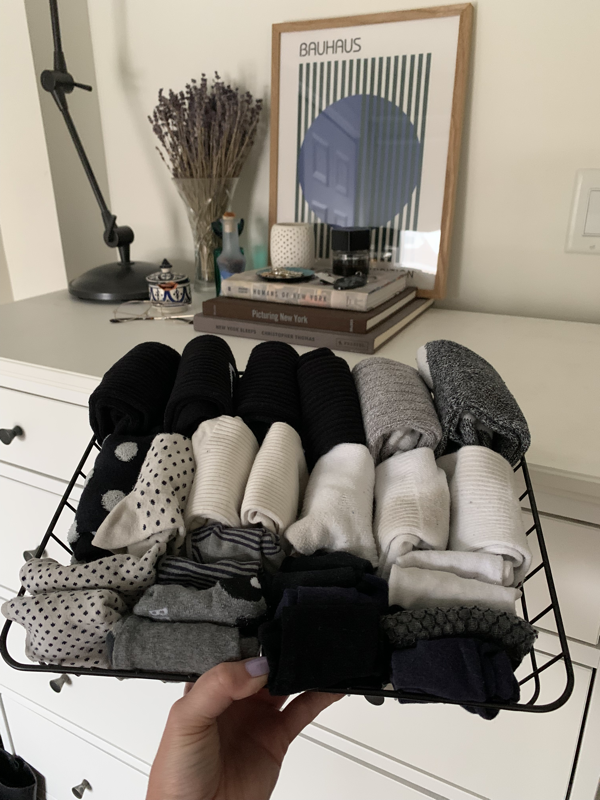
If you live in a condo/apartment with a balcony, clean any outdoor furniture including railing and flooring, so it’s ready to enjoy again. 10. Stay Consistent To make spring cleaning more manageable, try to stay consistent with your cleaning routine throughout the year. Regular maintenance can help prevent a buildup of dirt and grime, making spring cleaning less daunting. By following these tips, you can tackle spring cleaning like a pro and enjoy a clean, fresh home. 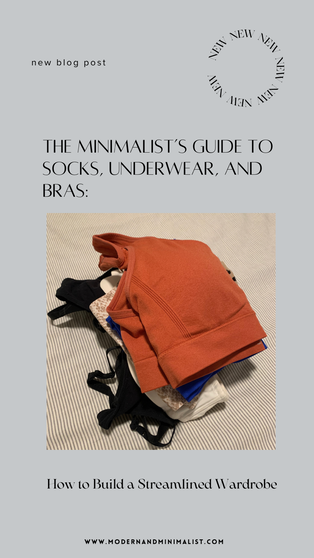 The Minimalist’s Guide to Socks, Underwear, and Bras: How to Build a Streamlined Wardrobe In the pursuit of a minimalist lifestyle, every item in your wardrobe should serve a purpose and bring you joy. This includes essentials like socks, underwear, and bras. A minimalist wardrobe for these items is not only about decluttering but also about thoughtful curation and maintenance. Here’s a comprehensive guide to help you create a minimalist wardrobe for socks, underwear, and bras: Assess Your Needs • Start by taking stock of your current inventory of socks, underwear, and bras. Identify items that are worn out, no longer fit, or are rarely used. • Consider your lifestyle and preferences. How often do you do laundry? What types of activities do you engage in that may require specific types of undergarments? 2. Determine Quantity • Socks: Aim for 10-15 pairs of everyday socks, plus a few extra for specific activities. (This is If you live in one climate) • Underwear: 10-14 pairs, including a mix of styles for different outfits and activities. • Bras: 7-10 bras, including everyday bras and specialty bras like sports bras or strapless bras. I live in Canada so for four seasons I do need more socks for a variety of weather. I have 5 pairs of boot socks, 8 pairs of tube socks, 6 pairs of ankle socks, 6 pairs of no show socks (they are so small they don't take up much space), and 6 pairs of ankle dressy socks and 2 pairs of no show dressy socks. I also have 2 pairs of black stockings. Choose Quality Over Quantity • Invest in high-quality, durable undergarments made from breathable fabrics. Look for features like moisture-wicking properties in socks and underwear. • Quality bras with good support can prevent discomfort and last longer. Organize Your Wardrobe • Use drawer dividers, small boxes or wire baskets to separate socks, underwear, and bras. • Arrange items neatly, with the most frequently used ones easily accessible.
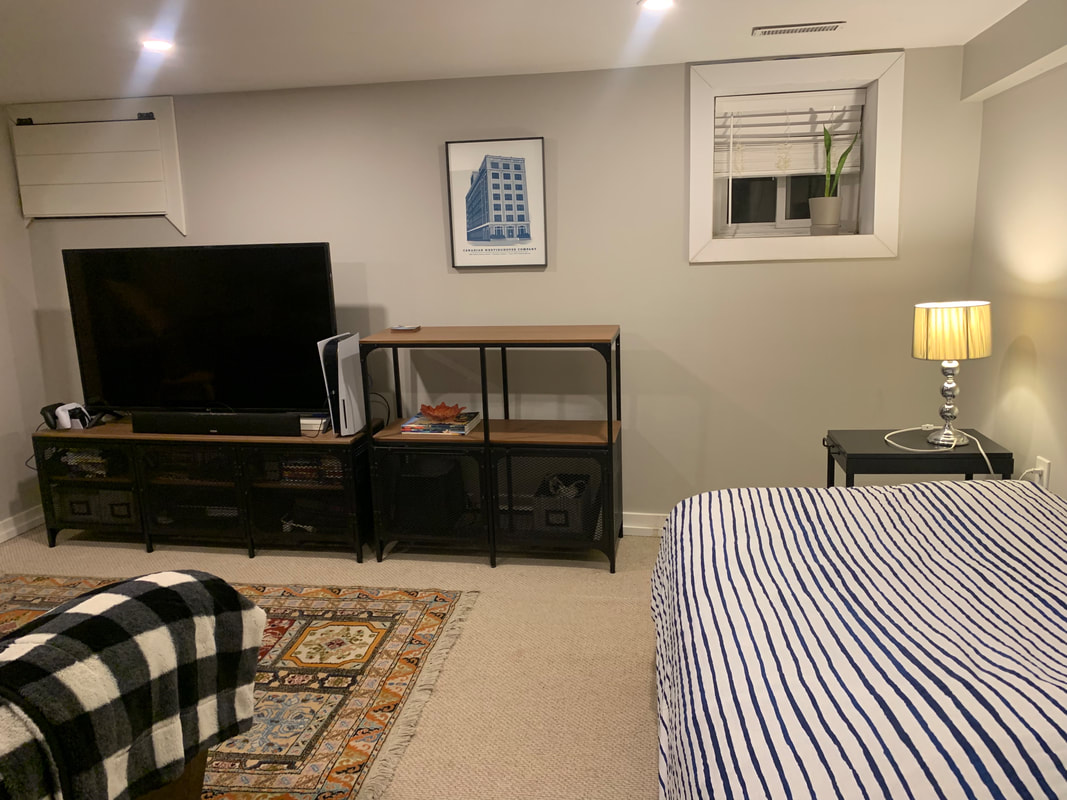
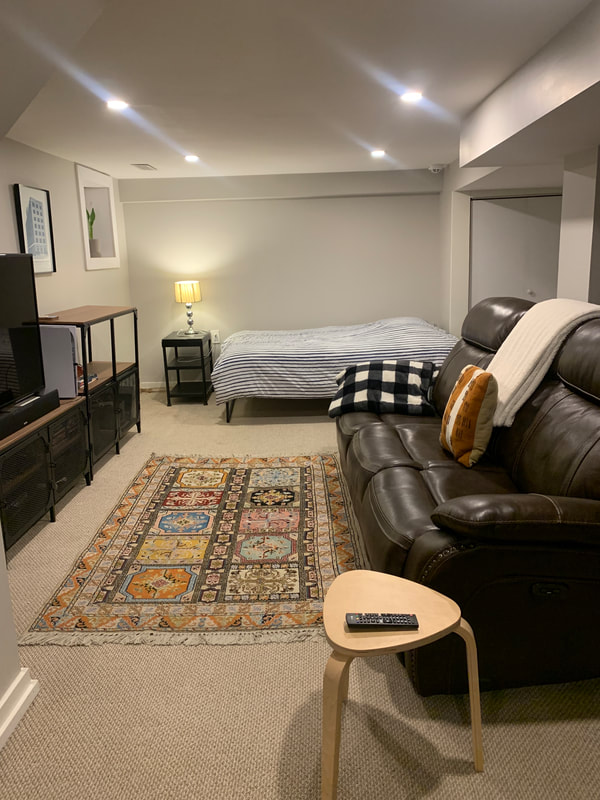
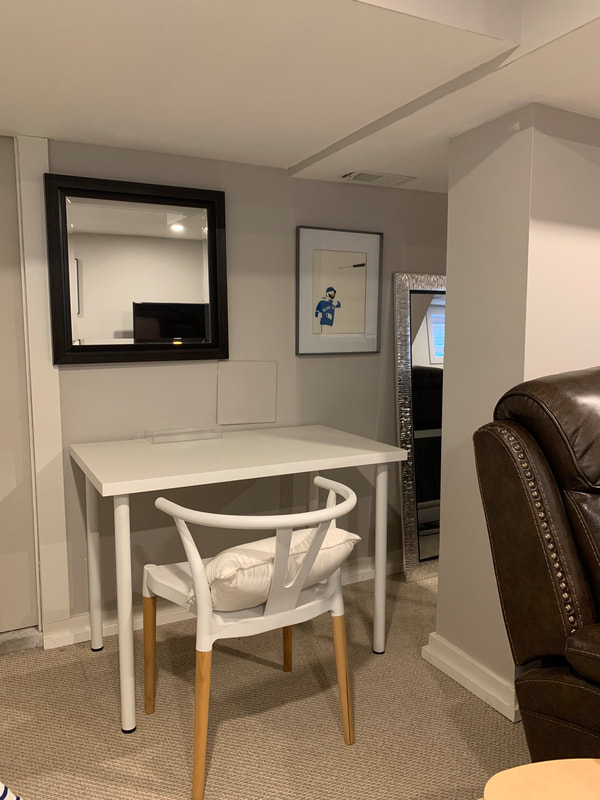
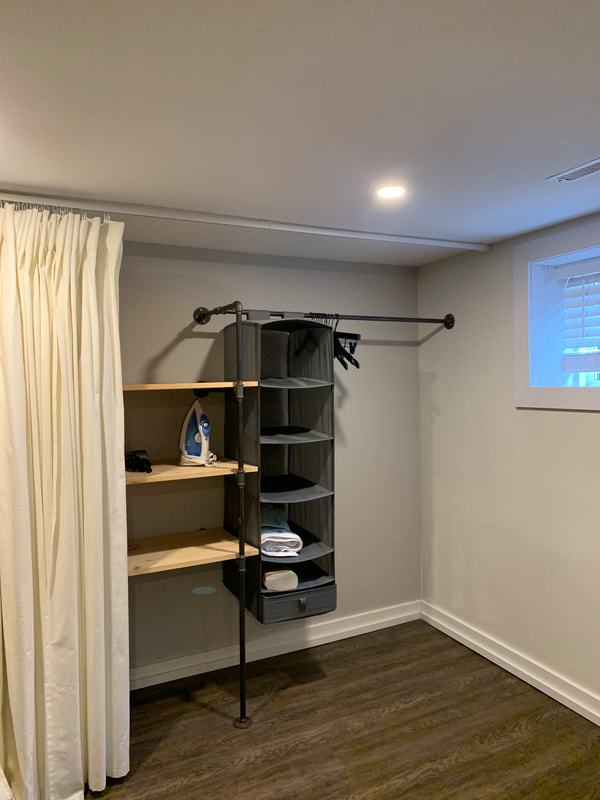
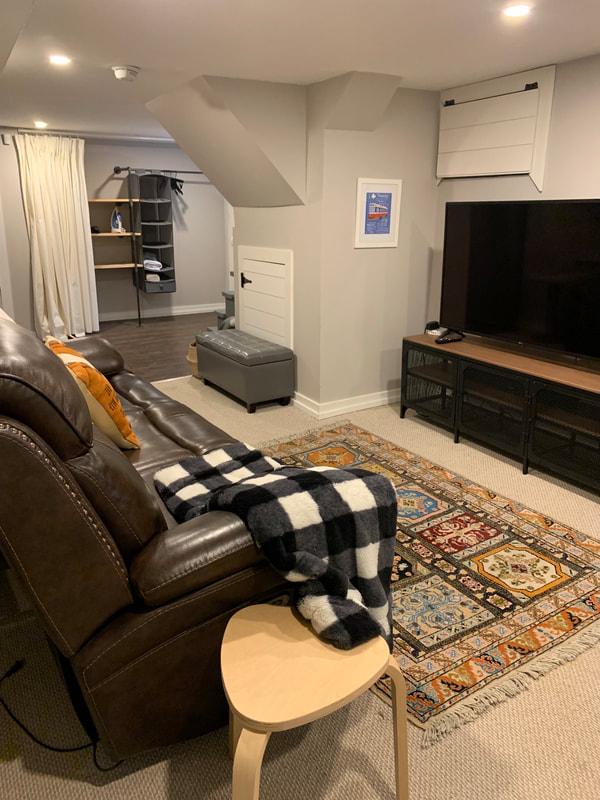
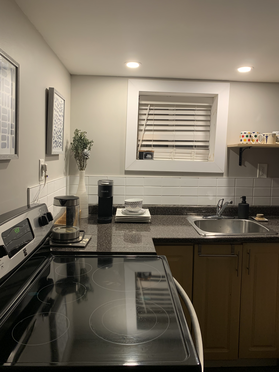
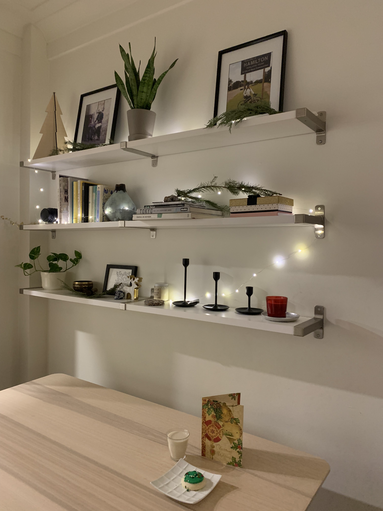
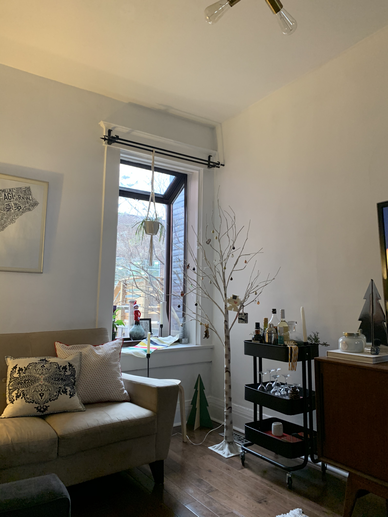
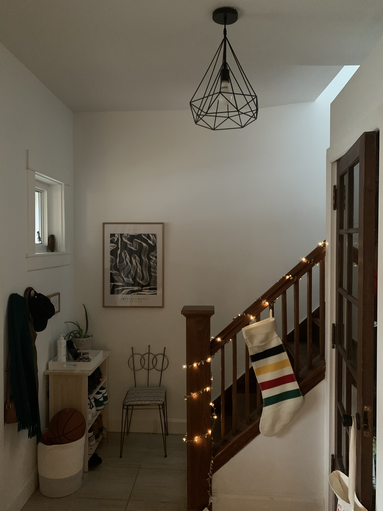
Practice Regular Maintenance • Wash undergarments according to the care instructions on the label. Avoid using harsh detergents or hot water, as these can damage the fabric. • Replace undergarments every 12 months, or sooner if they are worn out, damaged, or no longer fit properly. Consider Sustainability • Choose undergarments made from sustainable materials, such as organic cotton, bamboo, or recycled fibers. • Look for brands that prioritize ethical production practices and minimize environmental impact. Embrace Versatility • Select undergarments that can be worn with multiple outfits to maximize their utility. • Choose neutral colours that can easily be mixed and matched with the rest of your wardrobe. By following these steps, you can create a minimalist wardrobe for socks, underwear, and bras that is both functional and stylish. Remember, the key is to focus on quality, versatility, and regular maintenance to ensure that your essentials serve you well for a long time.  Transforming Your Basement into an Airbnb Haven: A Step-by-Step GuideTurning your basement into a cozy Airbnb rental is a fantastic way to maximize your space and generate extra income. However, proper preparation is crucial to ensure a positive experience for both you and your guests. Follow these steps to transform your basement into a welcoming haven for Airbnb renters. 1. Legal Considerations: Check local zoning laws and regulations to confirm that you're allowed to rent out your basement. Obtain any necessary permits and ensure compliance with safety standards. Understanding the legal aspects will help you avoid potential issues down the road. 2. Evaluate Safety Measures: Prioritize safety by inspecting and enhancing the basement's security features. Install smoke detectors, carbon monoxide alarms, and fire extinguishers. Ensure that windows are easily accessible and comply with safety codes. Address any structural concerns or water damage to create a secure environment. 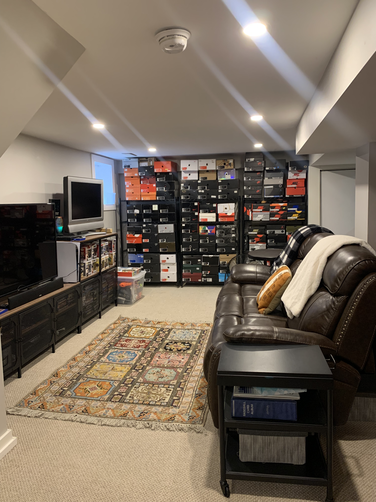 This is how the basement looked before with a sneaker collection wall and more stuff. 3. Declutter and Organize the basement: If you've been using your basement as a storage area or dumping ground for your stuff ( don’t worry I once did too), then you must go through all of your stuff and decide what to keep or let go of. I converted this "man cave" to an Airbnb, by removing all of the stuff and placing in another area of the home. Do you have another area to store items like seasonal decor or stuff you can put into a shed or garage? You must have another space otherwise you will need to do a big purge. The purpose of this space will help you generate money, so there will be many benefits to decluttering and really dealing with your stuff. This will take time, but it’s an important step into transforming your space to accommodate guests. Tackle sections of the basement as it can be overwhelming, and you will have to sort items deciding what you will keep, or to donate/sell. If you can’t find the time or motivation to do this, you can find your local professional organizer to assist in this process and alleviate that stress and work. 4. Comfortable Sleeping Arrangements: Invest in quality, comfortable bedding and furnishings to create a cozy sleeping space. Consider a fold-out sofa or a comfortable bed, depending on the available space. Ensure adequate lighting and provide blackout curtains to offer guests a good night's sleep. 5. Design a Functional Living Area: Create a functional living space by arranging comfortable seating, a coffee table, and perhaps a small desk. Make the space inviting with tasteful decorations and neutral colors. Adding a touch of personality through artwork or accent pieces can enhance the overall ambiance. 6. Kitchenette or Snack Area: Install a basic kitchenette or snack area with a microwave, mini-fridge, and coffee maker. Stock it with essentials like coffee, tea, and simple snacks. This allows guests to enjoy a convenient and private dining experience during their stay. 7. Immaculate Bathroom: Ensure the bathroom is spotlessly clean and well-stocked with essentials like towels, shampoo, and soap. Fix any plumbing issues and provide proper ventilation to prevent moisture buildup. A well-maintained bathroom is a key factor in guest satisfaction.
8. Adequate Lighting and Ventilation: Illuminate the space with a mix of natural and artificial lighting. Ensure proper ventilation to keep the basement fresh and free of musty odors. Well-lit and well-ventilated spaces contribute to a positive guest experience. 9. Technology and Connectivity: Offer reliable Wi-Fi and provide clear instructions on how to connect. Include amenities such as a television, streaming services, and charging stations. These tech-savvy additions can greatly enhance the guest experience. 10. Clear House Rules: Establish clear and concise house rules to manage guest expectations. Communicate guidelines regarding noise levels, check-in/check-out procedures, and any other relevant information. Transparency is key to a smooth hosting experience. Conclusion: By following these steps, you can transform your basement into a desirable Airbnb rental. Providing a clean, comfortable, and well-equipped space will not only attract positive reviews but also ensure repeat bookings. Remember to stay informed about local regulations and continuously strive to enhance the overall guest experience. Happy hosting! 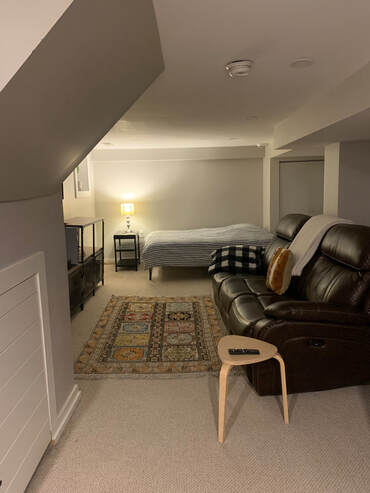  As we usher in the new year, it's the perfect time to refresh our living spaces and embrace a clutter-free environment. A cluttered home can contribute to stress, anxiety, and a sense of overwhelm. Fortunately, decluttering doesn't have to be an arduous task. In this guide, we'll explore practical and effective ways to declutter your home in 2024, creating a harmonious and organized living space.
As we embark on a new year, take the opportunity to declutter your home and create a space that nurtures positivity and tranquility. By following these practical tips and incorporating mindful habits, you'll not only achieve a clutter-free environment in 2024 but also set the foundation for a more organized and harmonious lifestyle. 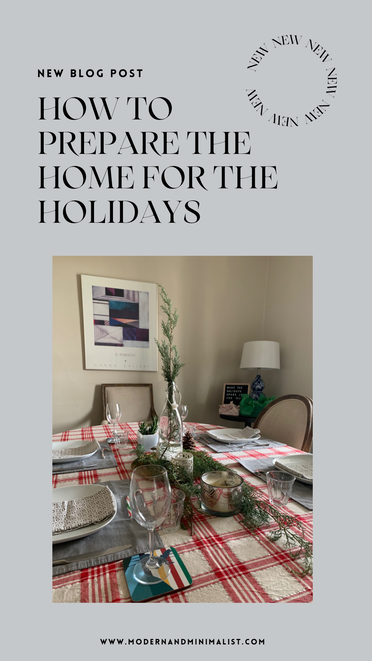 Preparing your home for the holidays when hosting involves a combination of cleaning, decorating, and planning to ensure a welcoming and festive atmosphere for your guests. Here are some tips to help you get started: Clean and Declutter
Decorate
Guest Comfort
Festive Lighting
Holiday Scents
 Entertainment and Activities
Festive Table Settings
Menu Planning
Welcome Guests
Emergency Supplies & Safety Precautions
Remember to enjoy the process and the time spent with your loved ones. Flexibility is key, so be prepared to adapt plans if needed and focus on creating lasting memories. How to Declutter and Organize Photos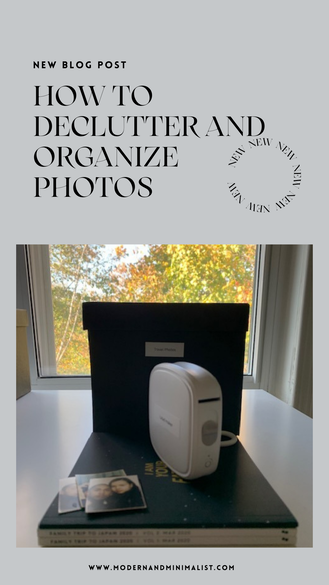
This article may contain affiliate links, which means I may earn a small commission if you make a purchase through the provided links. This comes at no additional cost to you and helps support the content I create. Thank you for your support.
Decluttering and organizing printed photos can be a rewarding process that helps preserve cherished memories and create a more organized living space. Here are some steps you can follow to effectively declutter and organize your printed photos:
I hope this helps with your photo declutter and organization and I will be sure to share a digital photo declutter in an upcoming blog post. Happy photo organizing and enjoy those memories forever!  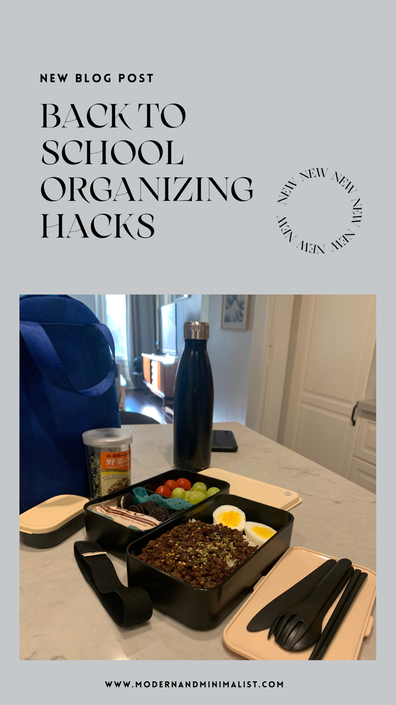 This article may contain affiliate links, which means I may earn a small commission if you make a purchase through the provided links. This comes at no additional cost to you and helps support the content I create. Thank you for your support. It’s back to school season and student and parents have to adjust again to daily routines, waking up early, preparing lunches and snacks (parents), getting to school on time, and making sure kids have balance with school and activities outside for happiness and wellbeing. To try to stay on track, here are some organization hacks for parents to help their children stay organized when going back to school: Set Up a Homework Station: Designate a quiet, well-lit space for your child to do homework and keep all necessary supplies within reach. 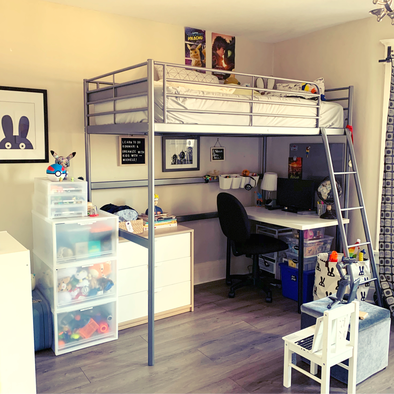 Morning Routine Chart: Create a visual morning routine chart to help your child stay on track with tasks like getting dressed, brushing teeth, and packing their backpack. 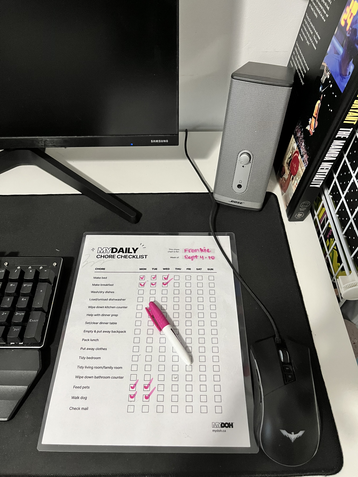 Meal Prep: Prepare lunches and snacks in advance to save time during busy mornings. Involve your child in selecting their meals. Using a bento box style lunch makes it fun and easy to store food in good portions, this bento box here is great for two sections of snacks and lunch. 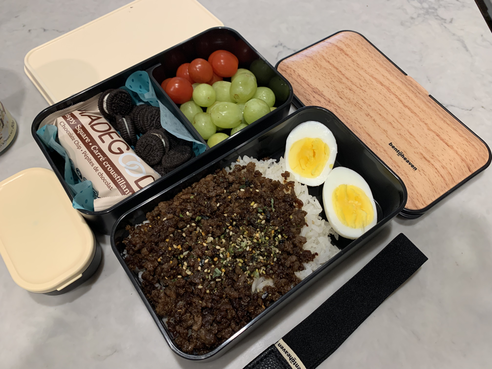 Backpack Organization: Teach your children to clean out their backpacks regularly and only carry necessary items. Use compartments or pouches for organizing smaller items. 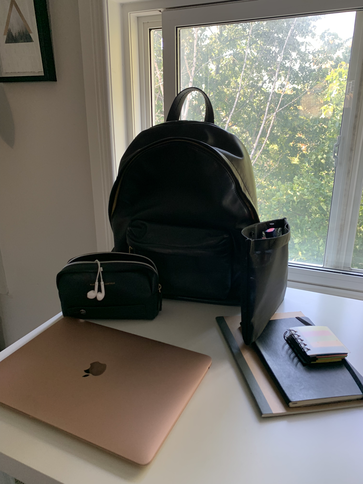 Label Everything: Label your child’s school supplies, clothing, and lunch containers to minimize the chances of items getting lost. This label maker is easy to use with bluetooth and app on your phone to print from. 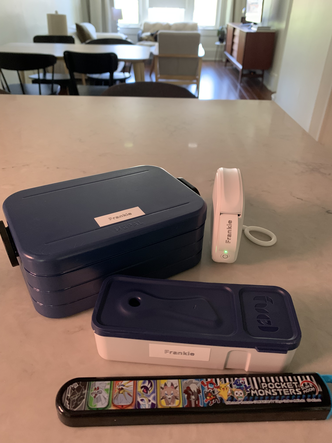 Use a Command Center: Set up a central area in your home with hooks for backpacks, a bulletin board for important notices, and a file system for paperwork. Digital Communication: Stay in touch with teachers and school staff through digital communication channels to receive updates and important information promptly. Digital Learning Tools: Familiarize yourself with the digital tools and platforms your child’s school uses for virtual learning, if applicable. 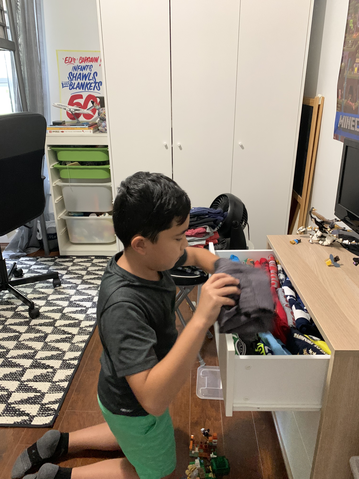 Encourage Responsibility: Teach your child to take responsibility for their belongings and tasks, gradually giving them more independence as they grow. Emergency Contact List: Keep a list of emergency contacts, including the school’s contact information, readily available either in your phone or written in your agenda/calendar. Establish a Bedtime Routine: Set a consistent bedtime routine to ensure your child gets enough rest for productive school days. Encourage Time Management: Teach your child time management skills and help them create a daily schedule to balance school, extracurriculars, and downtime. Weekly Planning Meetings: Hold weekly meetings to discuss upcoming assignments, tests, and extracurricular activities to ensure nothing is overlooked. Delegate Chores: Share household responsibilities with your child to teach them valuable life skills and free up more of your time. 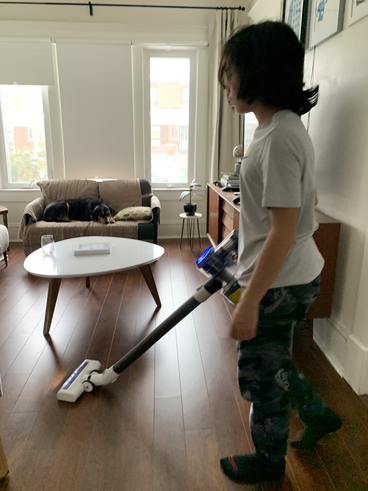 Digital Parental Controls: Use parental control apps or features on devices to manage screen time and ensure your child stays focused on schoolwork. Stay Flexible: Be prepared to adapt your organization strategies as your child’s needs and school requirements change.
Remember that every child is unique, so it’s important to tailor these organization hacks to suit your child’s personality and learning style. Consistency and open communication between parents and children are key to a successful back-to-school organization. |
AuthorMichele Delory Categories |


 RSS Feed